VS Code 开发 FastAPI
VS Code(全称 Visual Studio Code)是一款由微软推出的免费、开源、跨平台的代码编辑器。
VS Code 支持 Windows、macOS 和 Linux,拥有强大的功能和灵活的扩展性。
VS Code 教程:https://www.runoob.com/vscode/vscode-tutorial.html
下载地址: https://code.visualstudio.com/ 。
推荐安装以下扩展:
- Python (Microsoft)
- Pylance (Microsoft)
- FastAPI Snippets
创建虚拟环境
我们那可以先搭建好 Python 开发环境,如果已安装或配置可以跳过。
安装 FastAPI 和 Uvicorn
pip install fastapi uvicorn
创建 FastAPI 应用
在 fastapi-demo 目录下创建一个 main.py 文件,代码如下:
实例
app = FastAPI()
@app.get("/")
async def read_root():
return {"message": "Hello, FastAPI!"}
@app.get("/items/{item_id}")
async def read_item(item_id: int, q: str = None):
return {"item_id": item_id, "q": q}
运行应用
uvicorn main:app --reload
参数说明:
main:Python 模块名(不含 .py)app:FastAPI 实例变量名--reload:开发时启用自动重载
访问 API
- 打开浏览器访问
http://127.0.0.1:8000 - 交互式文档:
http://127.0.0.1:8000/docs - 替代文档:
http://127.0.0.1:8000/redoc
VS Code 开发技巧
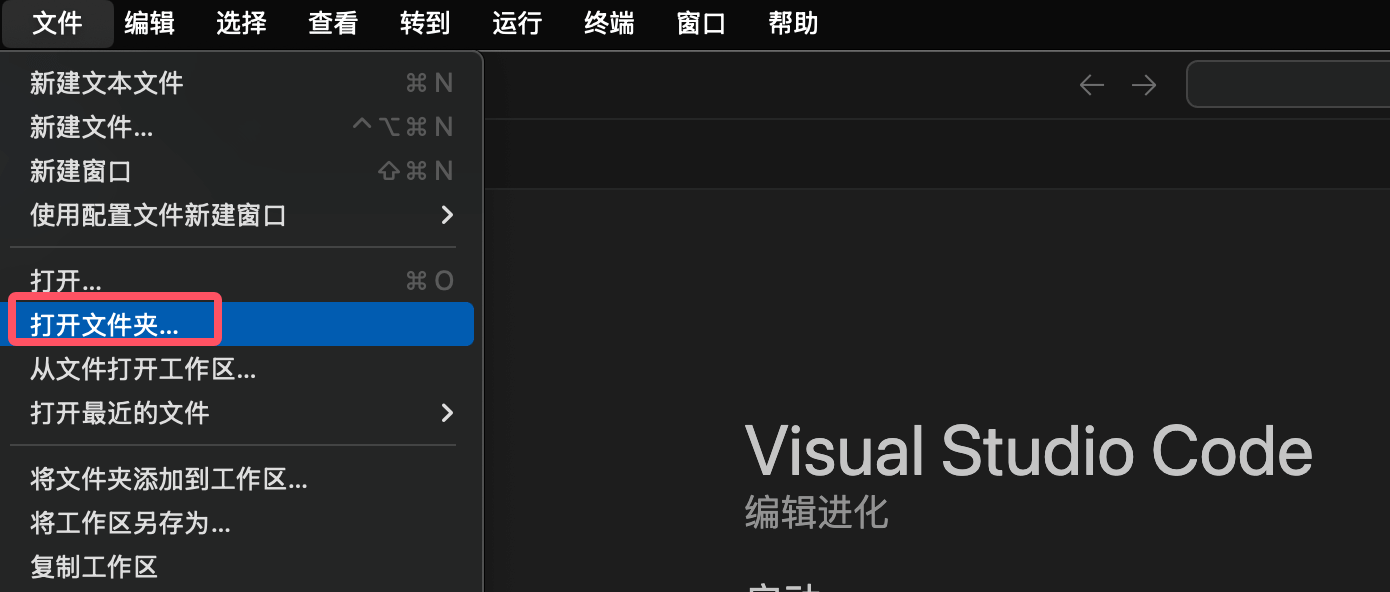
VS Code 中选择菜单 File > Open Folder…,打开你刚才创建的 fastapi-demo 文件夹。
第一次打开项目时 VS Code 会提示 "是否信任该工作区",选择 "Yes, I trust the authors" 以确保扩展和资源正常运行。
也可以使用 code .命令直接在目录中打开, . 号表示当前目录:code .
创建 requirements.txt
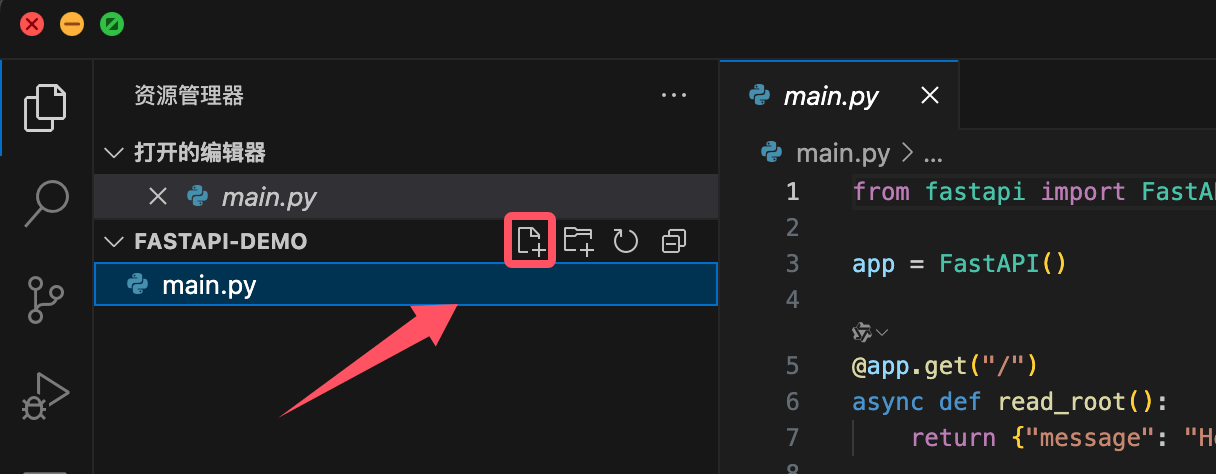
新建文件(File > New Text File 或快捷键 ⌘N),也可以直接在项目名右侧的新建文件图标创建:
添加以下内容(项目依赖):
fastapi
redis
types-redis
uvicorn
保存文件(⌘S),命名为 requirements.txt。
创建虚拟环境
创建虚拟环境
-
打开命令面板(⇧⌘P)
-
输入并选择:
Python: Create Environment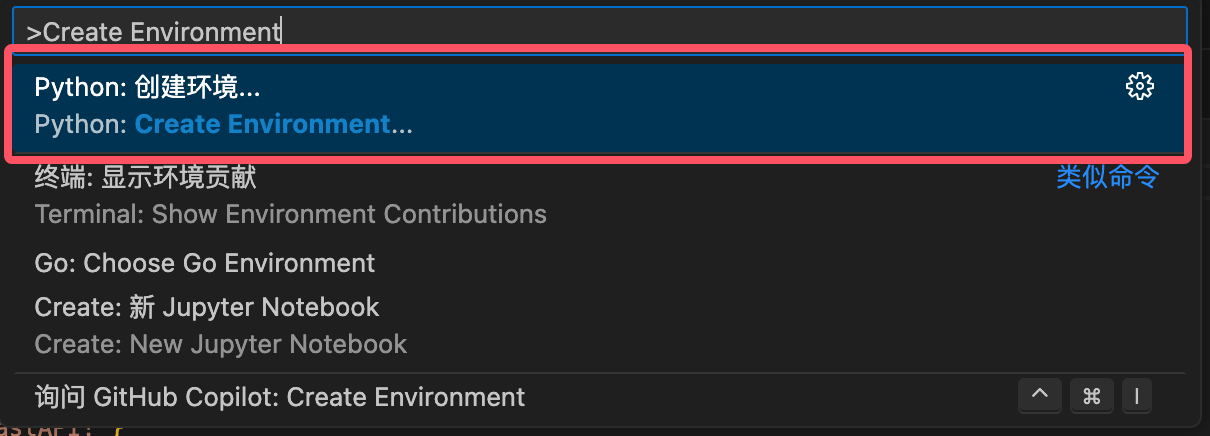
-
选择环境类型:
Venv(内建虚拟环境)
-
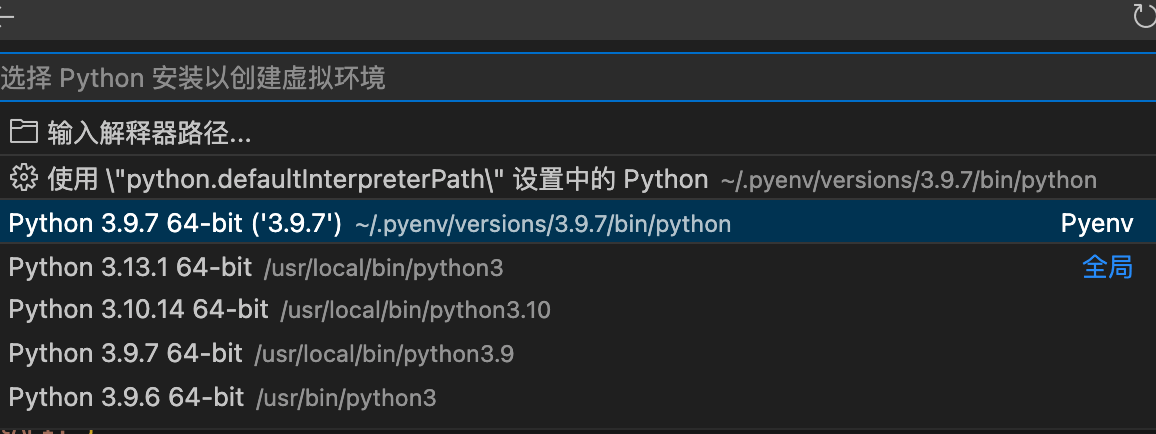
选择 Python 版本(推荐使用本机最新版本)
-
选择
requirements.txt文件以自动安装依赖
-
点击确认,系统会创建虚拟环境并自动安装依赖项
接下来我们就可以编辑 main.py 文件:
实例
app = FastAPI()
@app.get("/")
def root():
return {"message": "Hello World"}
按 F5 启动调试器来运行代码。
在弹出的下拉菜单中,选择列表中的 FastAPI 调试配置选项:
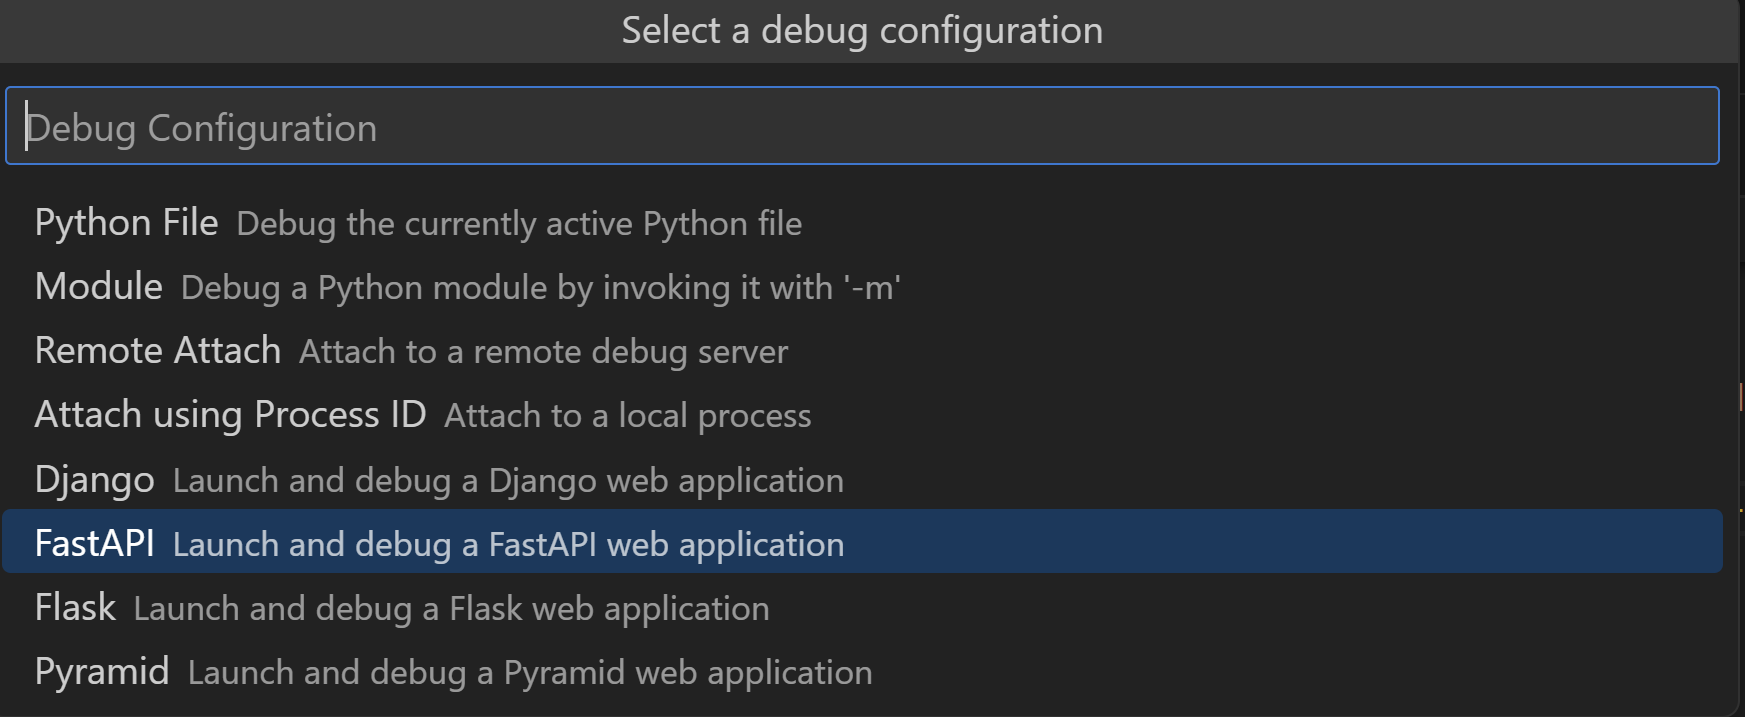
此操作将自动创建一个调试配置,该配置使用 uvicorn 通过调试器启动应用程序服务器,并允许你逐步调试源代码以检查其行为。
你应该在终端中看到类似以下内容的信息:
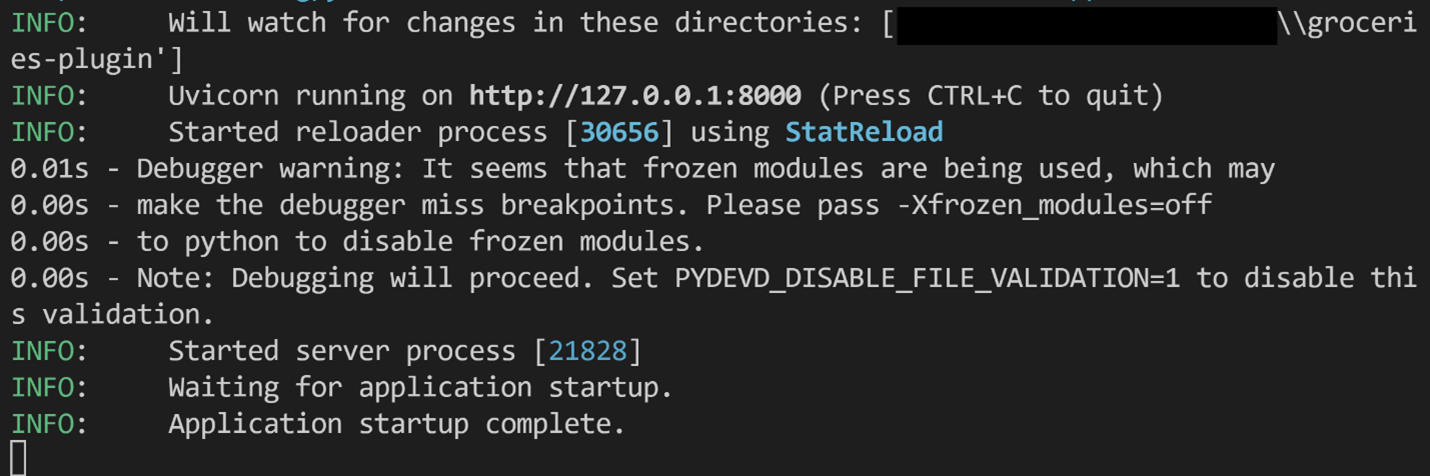
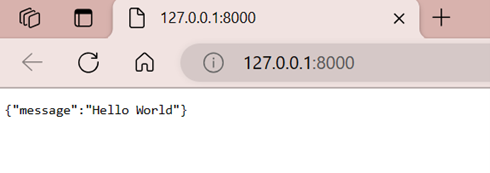
在终端中 Ctrl+点击显示的 URL 地址 http://127.0.0.1:8000/,在浏览器中打开它:
如果默认端口已经被占用:
- 停止调试器
- 打开命令面板(⇧⌘P),搜索并选择 Debug: Add Configuration
- 选择 Python Debugger,然后选择 FastAPI
- 这将会在
.vscode/launch.json中创建一个自定义配置文件 - 在
"args":[]中添加如下内容以设置自定义端口:"args": ["--port=5000"]
项目结构建议
对于大型项目,推荐以下结构:
my_fastapi_project/
├── app/
│   ├── __init__.py
│   ├── main.py         # 应用入口
│   ├── api/            # API路由
│   │   ├── __init__.py
│   │   ├── items.py
│   │   └── users.py
│   ├── models/         # 数据模型
│   │   ├── __init__.py
│   │   └── user.py
│   ├── schemas/        # Pydantic模型
│   │   ├── __init__.py
│   │   └── user.py
│   └── db/             # 数据库相关
│       ├── __init__.py
│       └── session.py
├── tests/              # 测试代码
│   ├── __init__.py
│   └── test_api.py
├── requirements.txt    # 依赖列表
└── .env                # 环境变量
调试与测试
调试 FastAPI
在 VS Code 中:
- 设置断点
- 按 F5 启动调试
- 在浏览器中访问 API 端点
单元测试
使用 pytest:
实例
from fastapi.testclient import TestClient
from main import app
client = TestClient(app)
def test_read_root():
response = client.get("/")
assert response.status_code == 200
assert response.json() == {"message": "Hello, FastAPI!"}
运行测试:
pytest
部署准备
生产服务器
推荐使用:
- Uvicorn + Gunicorn
- Hypercorn
- Daphne
Docker 部署
创建 Dockerfile:
FROM python:3.9

WORKDIR /app

COPY requirements.txt .
RUN pip install --no-cache-dir -r requirements.txt

COPY . .

CMD ["uvicorn", "app.main:app", "--host", "0.0.0.0", "--port", "80"]
构建并运行:
docker build -t fastapi-app .
docker run -d -p 80:80 fastapi-app

点我分享笔记