Pillow 绘图中文乱码
在图像上添加文字是图像处理中常见的需求,比如为图片添加水印、创建海报等。Pillow 提供了 ImageDraw 模块来实现这一功能。
基本步骤
在图像上添加文字的基本步骤如下:
- 打开或创建图像
- 创建 ImageDraw 对象
- 指定字体
- 使用
text()方法添加文字 - 保存图像
实例
实例
from PIL import Image, ImageDraw, ImageFont
# 1. 创建一个新的图像
image = Image.new('RGB', (400, 200), color=(255, 255, 255))
# 2. 创建 ImageDraw 对象
draw = ImageDraw.Draw(image)
# 3. 指定字体(这里使用默认字体)
# 注意:默认字体可能不支持中文
font = ImageFont.load_default()
# 4. 添加文字
draw.text((10, 10), "Hello, Pillow!", fill="black", font=font)
# 5. 保存图像
image.save('output.png')
添加中文字体
默认情况下,Pillow 的默认字体不支持中文显示。
要在图像上添加中文,我们需要使用支持中文的字体文件(通常是 .ttf 或 .otf 格式)。
获取中文字体
你可以从以下途径获取中文字体:
使用系统自带的中文字体(如 Windows 的 simsun.ttc)
从免费字体网站下载(如思源黑体、阿里巴巴普惠体等)。
购买商业字体(注意版权问题)
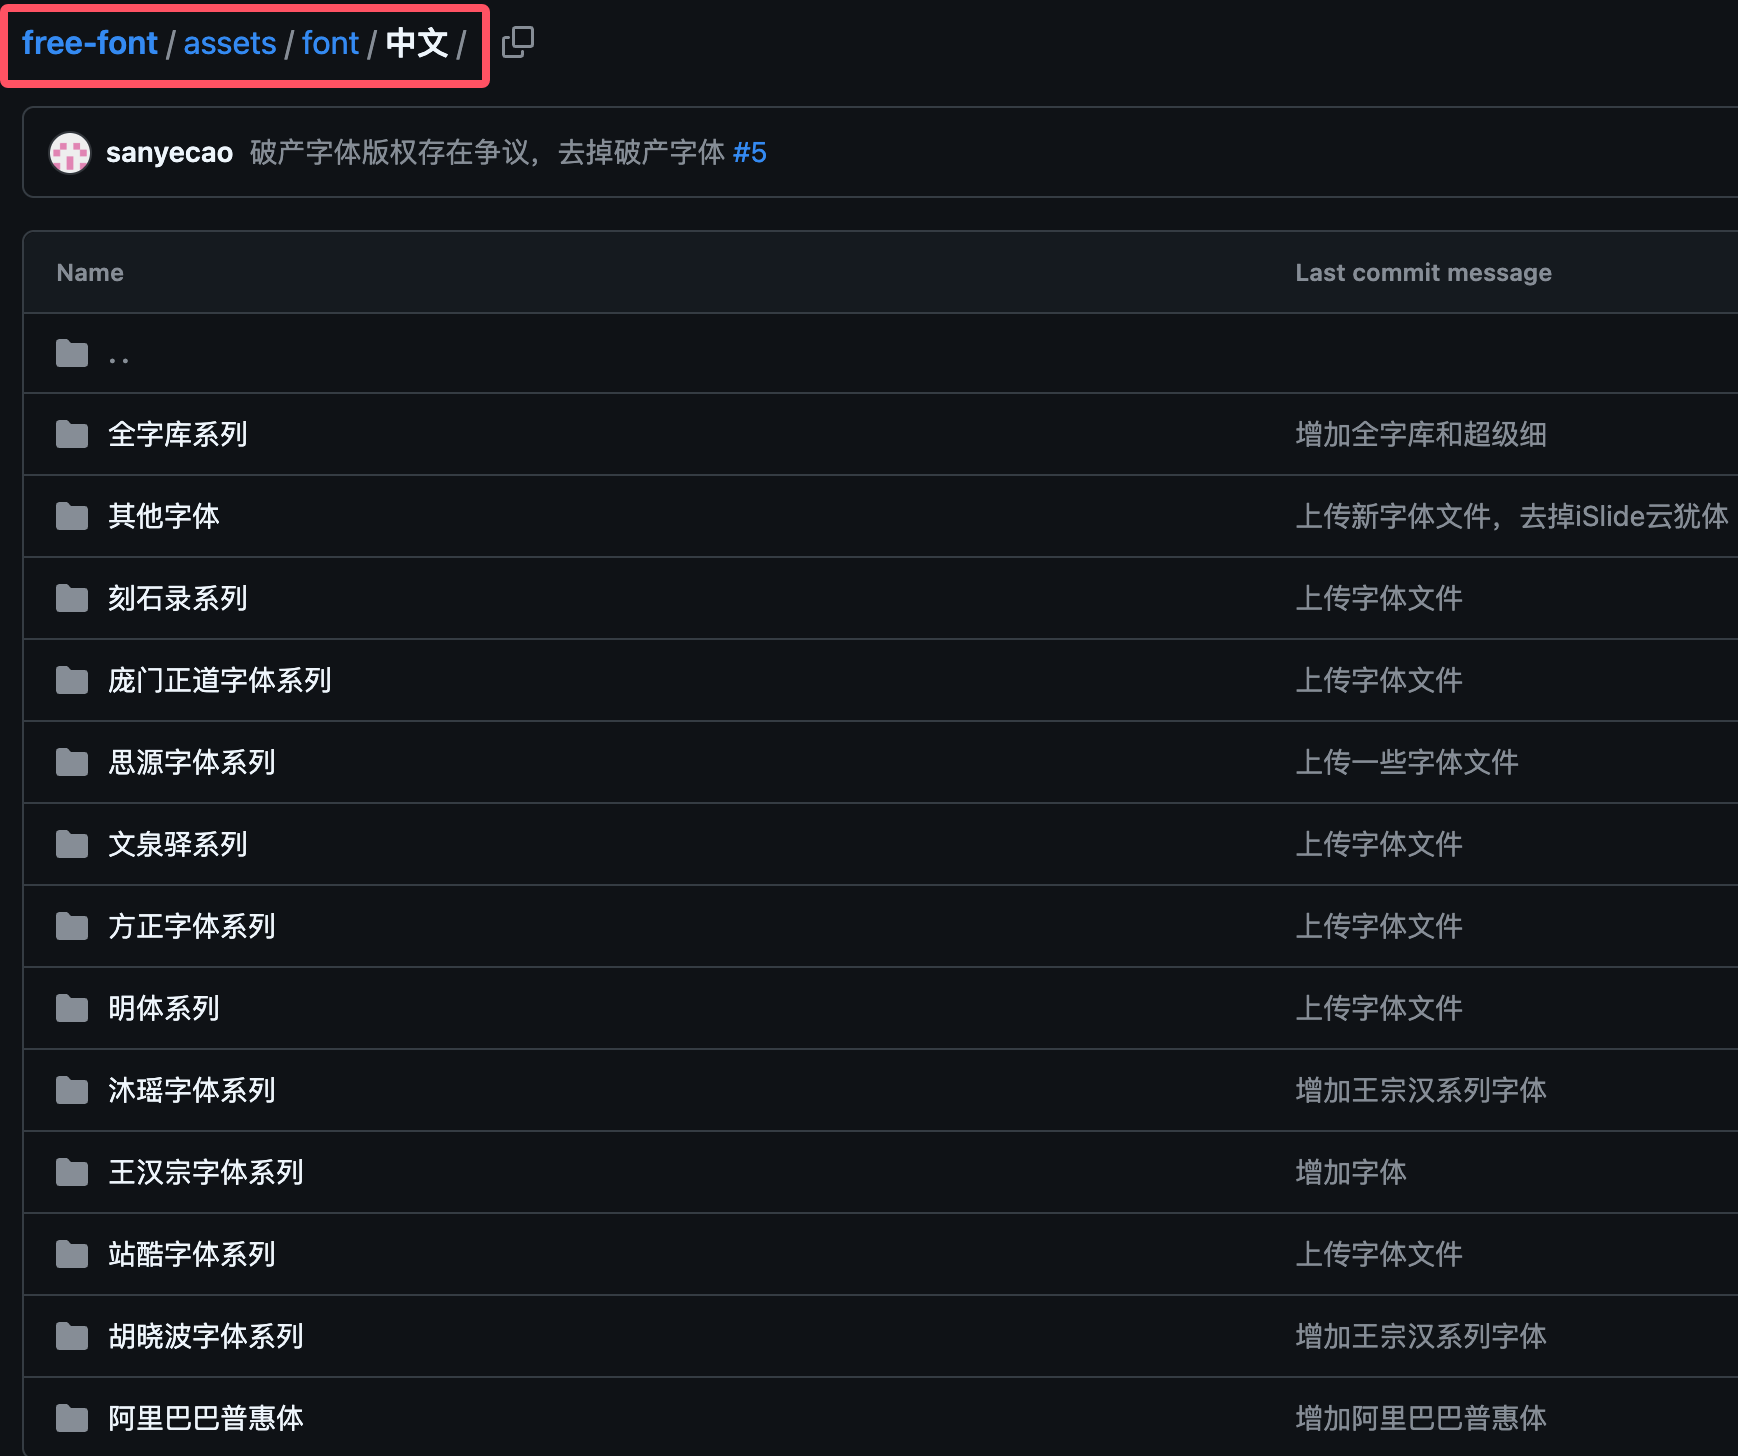
开源的中文字体库下载:https://github.com/wordshub/free-font。
使用中文字体的示例代码
实例
from PIL import Image, ImageDraw, ImageFont
# 1. 创建一个新的图像
image = Image.new('RGB', (400, 200), color=(255, 255, 255))
# 2. 创建 ImageDraw 对象
draw = ImageDraw.Draw(image)
# 3. 指定中文字体
# 注意:需要替换为你的系统中存在的字体文件路径
font_path = "SimHei.ttf" # 黑体字体路径
font_size = 20
font = ImageFont.truetype(font_path, font_size)
# 4. 添加中文文字
draw.text((10, 10), "你好,Pillow!", fill="red", font=font)
# 5. 保存图像
image.save('chinese_output.png')
输出结果如下,中文正常显示:

文字排版高级技巧
文字位置控制
text() 方法的第一个参数是坐标 (x, y),表示文字的左上角位置。我们可以通过计算来控制文字的位置。
实例
from PIL import Image, ImageDraw, ImageFont
# 1. 创建一个新的图像
image = Image.new('RGB', (400, 200), color=(255, 255, 255))
# 2. 创建 ImageDraw 对象
draw = ImageDraw.Draw(image)
# 3. 指定中文字体
# 注意:需要替换为你的系统中存在的字体文件路径
font_path = "SimHei.ttf" # 黑体字体路径
font_size = 20
font = ImageFont.truetype(font_path, font_size)
# 4. 添加中文文字
# 将文字居中显示
text = "居中文字"
bbox = draw.textbbox((0, 0), text, font=font)
text_width = bbox[2] - bbox[0]
text_height = bbox[3] - bbox[1]
image_width, image_height = image.size
x = (image_width - text_width) / 2
y = (image_height - text_height) / 2
draw.text((x, y), text, fill="red", font=font)
# 5. 保存图像
image.save('chinese_output.png')
输出结果如下,文字居中显示:

多行文字处理
Pillow 本身不直接支持自动换行,但我们可以手动实现:
实例
from PIL import Image, ImageDraw, ImageFont
# 1. 创建一个新的图像
image = Image.new('RGB', (400, 200), color=(255, 255, 255))
# 2. 创建 ImageDraw 对象
draw = ImageDraw.Draw(image)
# 3. 指定中文字体
# 注意:需要替换为你的系统中存在的字体文件路径
font_path = "SimHei.ttf" # 黑体字体路径
font_size = 20
font = ImageFont.truetype(font_path, font_size)
# 4. 添加中文文字
# 多行显示
# 要显示的中文文本
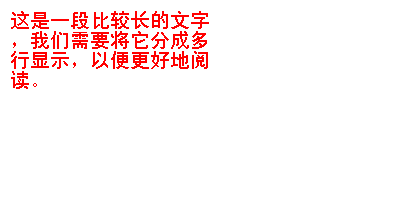
text = "这是一段比较长的文字,我们需要将它分成多行显示,以便更好地阅读。"
max_width = 200 # 每行最大宽度(像素)
lines = [] # 存储分行后的文本
current_line = "" # 当前正在处理的行
# 按字符遍历文本,判断是否需要换行
for char in text:
test_line = current_line + char
# 计算当前行的宽度,判断是否超过最大宽度
if draw.textbbox((0, 0), test_line, font=font)[2] <= max_width:
current_line = test_line
else:
lines.append(current_line) # 当前行已满,添加到结果中
current_line = char # 新行以当前字符开始
if current_line:
lines.append(current_line) # 添加最后一行
y_text = 10 # 初始 y 坐标
# 逐行绘制文本
for line in lines:
draw.text((10, y_text), line, fill="red", font=font)
bbox = draw.textbbox((0, 0), line, font=font)
line_height = bbox[3] - bbox[1] # 计算当前行的高度
y_text += line_height # 更新 y 坐标,准备绘制下一行
# 5. 保存图像
image.save('chinese_output.png')
# 1. 创建一个新的图像
image = Image.new('RGB', (400, 200), color=(255, 255, 255))
# 2. 创建 ImageDraw 对象
draw = ImageDraw.Draw(image)
# 3. 指定中文字体
# 注意:需要替换为你的系统中存在的字体文件路径
font_path = "SimHei.ttf" # 黑体字体路径
font_size = 20
font = ImageFont.truetype(font_path, font_size)
# 4. 添加中文文字
# 多行显示
# 要显示的中文文本
text = "这是一段比较长的文字,我们需要将它分成多行显示,以便更好地阅读。"
max_width = 200 # 每行最大宽度(像素)
lines = [] # 存储分行后的文本
current_line = "" # 当前正在处理的行
# 按字符遍历文本,判断是否需要换行
for char in text:
test_line = current_line + char
# 计算当前行的宽度,判断是否超过最大宽度
if draw.textbbox((0, 0), test_line, font=font)[2] <= max_width:
current_line = test_line
else:
lines.append(current_line) # 当前行已满,添加到结果中
current_line = char # 新行以当前字符开始
if current_line:
lines.append(current_line) # 添加最后一行
y_text = 10 # 初始 y 坐标
# 逐行绘制文本
for line in lines:
draw.text((10, y_text), line, fill="red", font=font)
bbox = draw.textbbox((0, 0), line, font=font)
line_height = bbox[3] - bbox[1] # 计算当前行的高度
y_text += line_height # 更新 y 坐标,准备绘制下一行
# 5. 保存图像
image.save('chinese_output.png')
输出结果如下:
文字样式设置
我们可以通过字体文件或 Pillow 的功能来设置文字样式:
实例
from PIL import Image, ImageDraw, ImageFont
# 1. 创建一个新的图像
image = Image.new('RGB', (400, 200), color=(255, 255, 255))
# 2. 创建 ImageDraw 对象
draw = ImageDraw.Draw(image)
# 3. 指定中文字体
# 注意:需要替换为你的系统中存在的字体文件路径
font_path = "SimHei.ttf" # 黑体字体路径
font_size = 20
font = ImageFont.truetype(font_path, font_size)
# 4. 添加中文文字
# 设置文字颜色
draw.text((10, 10), "彩色文字", fill=(255, 0, 0), font=font) # 红色
# 添加文字描边(通过多次绘制实现)
text = "描边文字"
position = (50, 50)
# 先绘制黑色背景(描边)
for x_offset in [-1, 0, 1]:
for y_offset in [-1, 0, 1]:
if x_offset != 0 or y_offset != 0:
draw.text((position[0]+x_offset, position[1]+y_offset), text, fill="black", font=font)
# 再绘制白色前景
draw.text(position, text, fill="white", font=font)
# 5. 保存图像
image.save('chinese_output.png')
输出结果如下:

实际应用示例
为图片添加水印
实例
from PIL import Image, ImageDraw, ImageFont, ImageEnhance
# 1. 创建一个新的图像
# 打开原始图片
original_image = Image.open("tiger.jpeg")
# 创建一个透明层用于水印
watermark = Image.new("RGBA", original_image.size, (0, 0, 0, 0))
draw = ImageDraw.Draw(watermark)
# 设置水印字体
font_path = "SimHei.ttf" # 黑体字体路径
font_size = 60
font = ImageFont.truetype(font_path, font_size)
# 添加水印文字
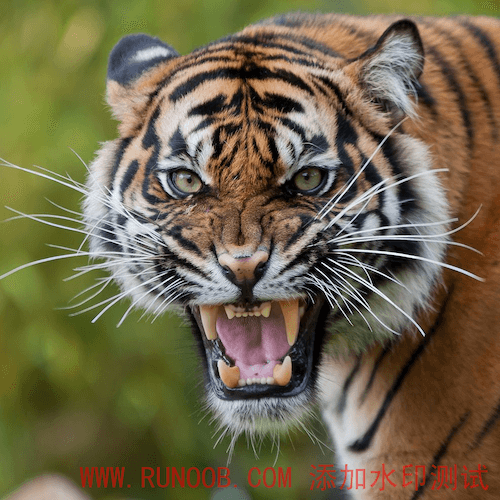
text = "WWW.RUNOOB.COM 添加水印测试"
bbox = draw.textbbox((0, 0), text, font=font)
text_width = bbox[2] - bbox[0]
text_height = bbox[3] - bbox[1]
x = original_image.width - text_width - 20
y = original_image.height - text_height - 20
draw.text((x, y), text, fill=(255, 0, 0, 128), font=font) # 半透明红色
# 合并水印和原图
watermarked_image = Image.alpha_composite(
original_image.convert("RGBA"),
watermark
)
# 保存结果
watermarked_image.save("watermarked_photo.png")
# 1. 创建一个新的图像
# 打开原始图片
original_image = Image.open("tiger.jpeg")
# 创建一个透明层用于水印
watermark = Image.new("RGBA", original_image.size, (0, 0, 0, 0))
draw = ImageDraw.Draw(watermark)
# 设置水印字体
font_path = "SimHei.ttf" # 黑体字体路径
font_size = 60
font = ImageFont.truetype(font_path, font_size)
# 添加水印文字
text = "WWW.RUNOOB.COM 添加水印测试"
bbox = draw.textbbox((0, 0), text, font=font)
text_width = bbox[2] - bbox[0]
text_height = bbox[3] - bbox[1]
x = original_image.width - text_width - 20
y = original_image.height - text_height - 20
draw.text((x, y), text, fill=(255, 0, 0, 128), font=font) # 半透明红色
# 合并水印和原图
watermarked_image = Image.alpha_composite(
original_image.convert("RGBA"),
watermark
)
# 保存结果
watermarked_image.save("watermarked_photo.png")
效果如下:
创建海报
实例
from PIL import Image, ImageDraw, ImageFont
# 创建海报背景
poster = Image.new("RGB", (800, 1200), (30, 30, 60))
draw = ImageDraw.Draw(poster)
# 设置标题字体
title_font = ImageFont.truetype("SimHei.ttf", 60)
# 设置正文字体
body_font = ImageFont.truetype("SimHei.ttf", 30)
# 添加标题
title = "Python 图像处理讲座"
draw.text((50, 50), title, fill=(255, 255, 255), font=title_font)
# 添加正文
content = """时间:2025年04月15日
地点:线上会议室
主讲人:WWW.RUNOOB.COM
内容:使用 Python Pillow 库进行图像处理"""
y_position = 150
for line in content.split("\n"):
draw.text((50, y_position), line, fill=(220, 220, 220), font=body_font)
y_position += 40
# 保存海报
poster.save("event_poster.png")
效果如下:

通过以上方法和示例,你应该能够在 Pillow 中自如地添加中文字体了。记得在实际应用中考虑字体版权问题,并根据需要调整文字样式和位置。

点我分享笔记